How to Repair LCD Monitors?
Introduction
LCD monitors have become a staple in both homes and offices due to their clear display and energy-efficient technology. However, they are not immune to issues. This guide focuses on how to repair LCD monitors, covering the most common problems and their solutions in detail.
Common LCD Monitor Issues
Understanding the typical problems that can occur with LCD monitors is the first step toward effective repair. Here is a table summarizing common issues and their potential causes:
| Issue | Potential Causes |
|---|---|
| Blank Screen | Loose cables, faulty power supply, dead backlight |
| Flickering Screen | Loose connections, backlight issues, aging capacitors |
| Dead Pixels | Manufacturing defects, physical damage |
| Strange Colors or Lines | Loose connections, faulty inverter, damaged screen |
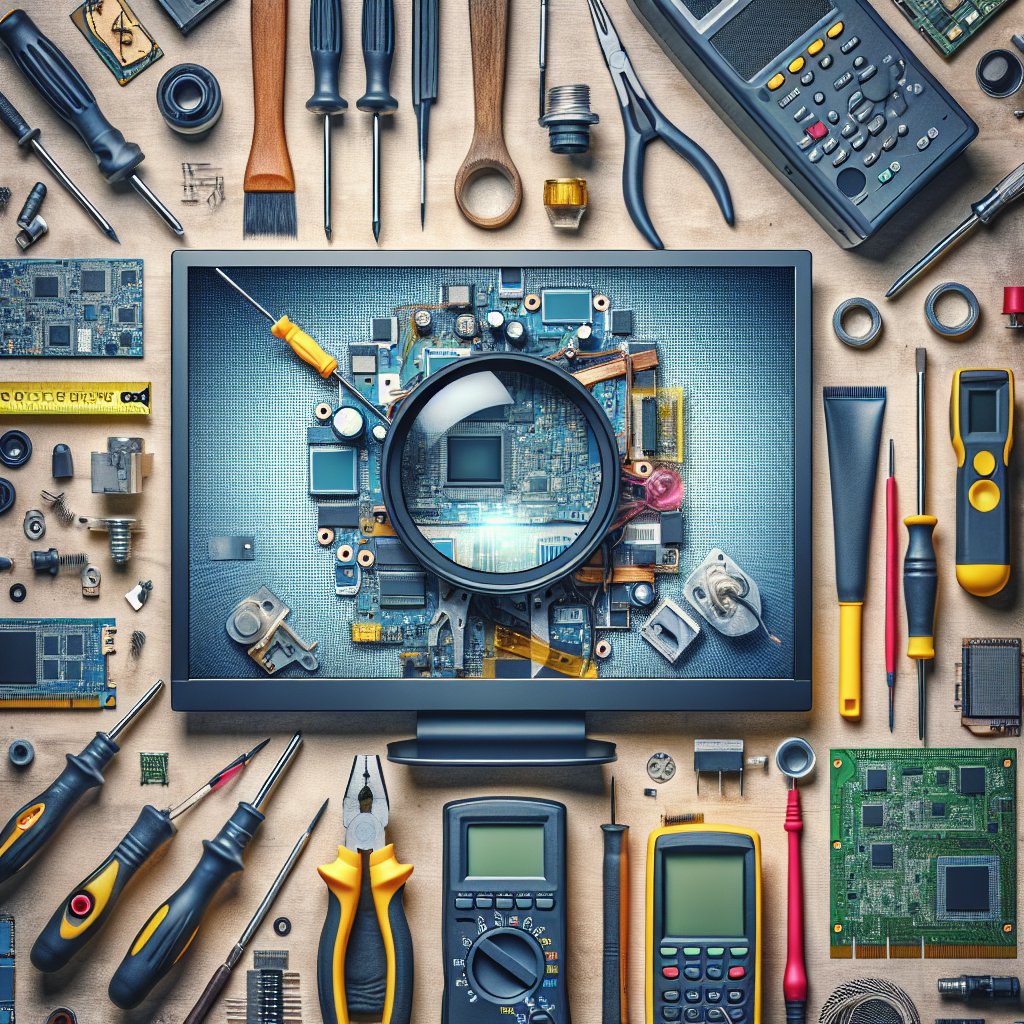
Tools and Materials Needed
Before starting any repair work, gather the following tools and materials:
- A multimeter
- Phillips and flathead screwdrivers
- Soldering iron and solder
- Replacement capacitors and fuses
- Static wrist strap
Step-by-Step Repair Guide
Step 1: Safety First
Always unplug the monitor and allow it to discharge. Wear a static wrist strap to prevent any electrostatic discharge from damaging components.
Step 2: Diagnose the Problem
Identify the issue using the table above. Use a multimeter to check for power supply issues, and visually inspect the components for any obvious signs of damage.
Step 3: Open the Monitor
Carefully remove the screws from the back of the monitor and gently pry open the casing. Be cautious of any fragile components inside.
Step 4: Inspect and Replace Faulty Components
Check for any bulging capacitors or blown fuses. If found, use a soldering iron to carefully replace these components. Double-check all connections for signs of looseness or damage.
Step 5: Reassemble the Monitor
Once all faulty components have been replaced and connections secured, reassemble the monitor. Make sure all screws are tightened and there are no leftover components.
Step 6: Test the Monitor
Plug the monitor back in and test it to ensure the issue has been resolved. If the problem persists, further diagnosis may be needed, focusing on more specific circuit issues or potentially the backlight.
Additional Tips
- Check Warranty: If your monitor is still under warranty, it’s best to contact the manufacturer for a replacement or professional repair.
- Professional Help: If you are not comfortable with handling electronic components, seek help from a professional to avoid further damage.
- Regular Maintenance: Dust and clean your monitor regularly to avoid issues related to overheating and dust accumulation.
Conclusion
Repairing an LCD monitor can be an intricate process, but with the right tools and precautions, it is often feasible. This guide should give you a solid foundation on how to diagnose and resolve common issues, ensuring your monitor stays in good working condition for as long as possible.