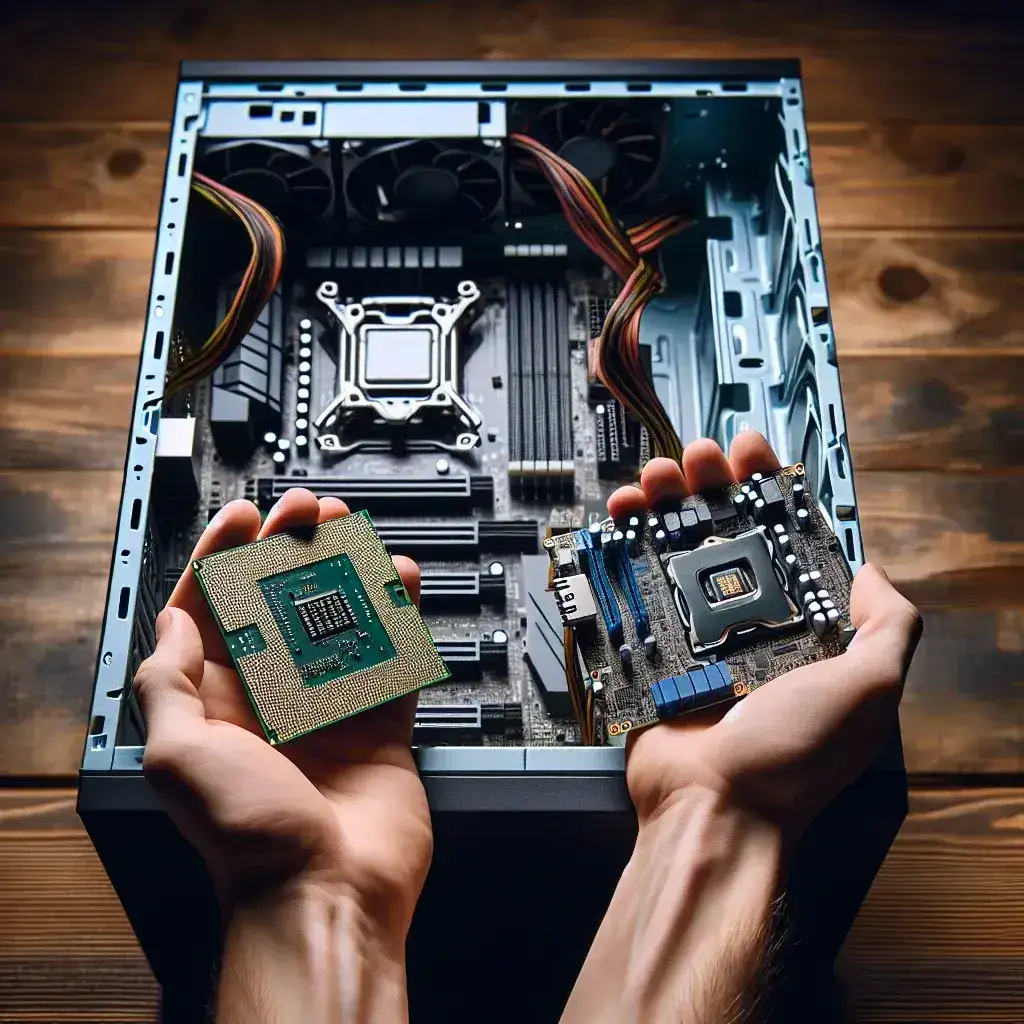
Apakah perlu meng-upgrade catu daya saya dengan motherboard dan CPU baru?
Ketika Anda memutuskan untuk melakukan upgrade pada motherboard dan CPU Anda, salah satu pertanyaan penting yang muncul adalah apakah Anda juga perlu meng-upgrade catu daya (power supply) Anda. Catu daya adalah komponen yang sangat krusial dari setiap sistem komputer karena berfungsi untuk memberikan daya yang diperlukan bagi semua komponen. Ketika melakukan upgrade, ada beberapa faktor yang perlu dipertimbangkan untuk menentukan apakah Anda perlu mengganti catu daya Anda.
Untuk membantu Anda membuat keputusan yang tepat, berikut adalah beberapa informasi dan data penting yang harus Anda pertimbangkan:
| Faktor | Deskripsi |
|---|---|
| Wattage (Daya) | Menghitung konsumsi daya total dari semua komponen baru dan memastikan catu daya Anda dapat mendukungnya. |
| Efisiensi | Catu daya yang lebih efisien dapat mengurangi konsumsi daya dan panas yang dihasilkan. |
| Konektor | Membuat pasti bahwa catu daya memiliki konektor yang tepat untuk motherboard dan CPU baru. |
| Usia Catu Daya | Catu daya yang lebih tua mungkin tidak dapat memberikan daya yang stabil untuk komponen baru yang lebih kuat. |
| Opsi Modularitas | Catu daya modular memungkinkan untuk mengelola kabel dengan lebih baik, yang penting dalam build yang rapi. |
Memahami Kebutuhan Daya
Langkah pertama dalam menentukan apakah Anda perlu meng-upgrade catu daya adalah memahami kebutuhan daya dari sistem baru Anda. Setiap komponen memiliki kebutuhan daya yang berbeda, dan penting untuk menjumlahkan semua kebutuhan tersebut untuk mendapatkan daya total minimum yang diperlukan.
Kalkulasi Kebutuhan Daya
Berikut ini adalah cara sederhana untuk menghitung total konsumsi daya:
- CPU: Periksa spesifikasi CPU Anda dan cari tahu berapa watt yang dibutuhkan.
- Motherboard: Biasanya motherboard tidak memerlukan daya yang sangat besar, tetapi pastikan untuk menambahkannya ke total.
- GPU: Jika Anda memiliki kartu grafis, ini mungkin menjadi komponen yang paling banyak memakan daya.
- RAM: Setiap modul RAM mungkin memakan daya sekitar 3-5 watt.
- Penyimpanan: HDD dan SSD juga memerlukan daya, meskipun tidak sebanyak GPU atau CPU.
- Komponen tambahan: Jangan lupa untuk menambahkan daya dari komponen lain seperti kipas dan peralatan eksternal.
Setelah menjumlahkan semua daya ini, tambahkan sekitar 20% ke total untuk memberikan ruang cadangan dan memastikan catu daya Anda tidak bekerja terlalu keras. Ini penting untuk menjaga stabilitas dan umur panjang dari catu daya Anda.
Mempertimbangkan Efisiensi Catu Daya
Efisiensi catu daya biasanya diukur dengan sertifikasi 80 PLUS yang menunjukkan seberapa efisien catu daya dalam mengubah daya AC (arus bolak-balik) menjadi daya DC (arus searah). Catu daya yang memiliki sertifikasi 80 PLUS akan memiliki efisiensi yang lebih tinggi dan lebih sedikit kehilangan daya dalam bentuk panas, yang sangat penting saat menggunakan sistem yang lebih kuat.
Sertifikasi 80 PLUS
Berikut adalah berbagai tingkat efisiensi dalam sertifikasi 80 PLUS:
| Tingkat Sertifikasi | Efisiensi (Pada 20%, 50%, 100% Beban) |
|---|---|
| 80 PLUS | 80%, 80%, 80% |
| 80 PLUS Bronze | 82%, 85%, 82% |
| 80 PLUS Silver | 85%, 88%, 85% |
| 80 PLUS Gold | 87%, 90%, 87% |
| 80 PLUS Platinum | 90%, 92%, 89% |
| 80 PLUS Titanium | 90%, 94%, 91% |
Konektor Catu Daya
Setiap motherboard dan CPU baru mungkin memerlukan konektor daya yang berbeda. Pastikan catu daya Anda memiliki konektor yang kompatibel seperti:
- 24-pin ATX: Diperlukan untuk sebagian besar motherboard modern.
- 8-pin atau 4-pin CPU: Membutuhkan konektor ini untuk memberikan daya yang diperlukan untuk CPU.
- Konektor PCIe: Jika Anda menggunakan kartu grafis yang memerlukan daya tambahan, periksa apakah Anda memiliki konektor PCIe yang diperlukan.
Usia Catu Daya
Jika catu daya Anda sudah lama digunakan, ada kemungkinan besar bahwa ia tidak dapat menyediakan daya yang stabil untuk komponen baru. Catu daya juga mengalami penurunan performa seiring berjalannya waktu. Oleh karena itu, jika catu daya Anda telah digunakan selama lebih dari 5 tahun, mungkin bijaksana untuk mempertimbangkan penggantian bahkan jika wattagenya mencukupi.
Tanda-Tanda Catu Daya Perlu Diganti
Berikut adalah beberapa tanda bahwa catu daya Anda mungkin perlu diganti:
- Komputer sering mati mendadak.
- Dengar suara berdesing atau mencicit dari catu daya.
- Komponen mengalami masalah saat booting atau tidak terdeteksi.
- Catu daya terlalu panas saat komputer digunakan.
Opsi Modularitas Catu Daya
Catu daya modular memungkinkan Anda untuk memilih kabel mana yang ingin Anda gunakan. Ini sangat berguna dalam pengelolaan kabel, memberikan penampilan sistem yang lebih rapi dan membantu aliran udara di dalam casing komputer. Ada tiga jenis catu daya: modular, semi-modular, dan non-modular.
Jenis Catu Daya
- Modular: Semua kabel dapat dipasang dan dilepas sesuai kebutuhan.
- Semi-modular: Hanya kabel tertentu yang dapat dilepas (seperti kabel PCIe dan CPU).
- Non-modular: Semua kabel terpasang secara permanen dan tidak dapat dilepas.
Kesimpulan
Ketika Anda melakukan upgrade motherboard dan CPU, sangat penting untuk mempertimbangkan catu daya Anda. Jika catu daya Anda tidak memenuhi persyaratan wattage, efisiensi, atau konektor yang diperlukan oleh sistem baru Anda, maka Anda perlu meng-upgrade catu daya. Jangan ragu untuk berkonsultasi dengan teknisi atau melakukan riset tambahan jika Anda merasa bingung. Investasi dalam catu daya yang berkualitas tidak hanya memastikan bahwa sistem Anda berfungsi dengan baik, tetapi juga melindungi komponen lainnya dari kerusakan akibat kelistrikan yang tidak stabil.