How to Install an M.2 SSD on a Desktop?
Installing an M.2 SSD on a desktop can significantly enhance the performance of your machine, offering faster boot times and quicker application loading. Follow this comprehensive guide to ensure a smooth installation process.
Tools and Materials Needed
| Item | Description |
|---|---|
| Phillips Screwdriver | To open the case and secure the M.2 SSD |
| Anti-static Wrist Strap | To prevent static electricity from damaging components |
| M.2 SSD | Your storage device |
| Motherboard Manual | To locate the M.2 slot |
Step-by-Step Guide
Step 1: Prepare Your Workspace
Ensure your work area is clean and free from clutter. Wear an anti-static wrist strap to avoid any static discharge that could damage your components.
Step 2: Power Down and Unplug Your Desktop
Before you start, make sure to power down your desktop completely and unplug it from the wall socket. Press the power button once after unplugging to discharge any residual power.
Step 3: Open Your Desktop Case
Using the Phillips screwdriver, remove the screws securing the side panel of your desktop case. Carefully set the panel aside to expose the internal components.
Step 4: Locate the M.2 Slot
Consult your motherboard manual to locate the M.2 slot. This slot is typically near the CPU socket. Remove any existing M.2 or screws that might be covering the slot.
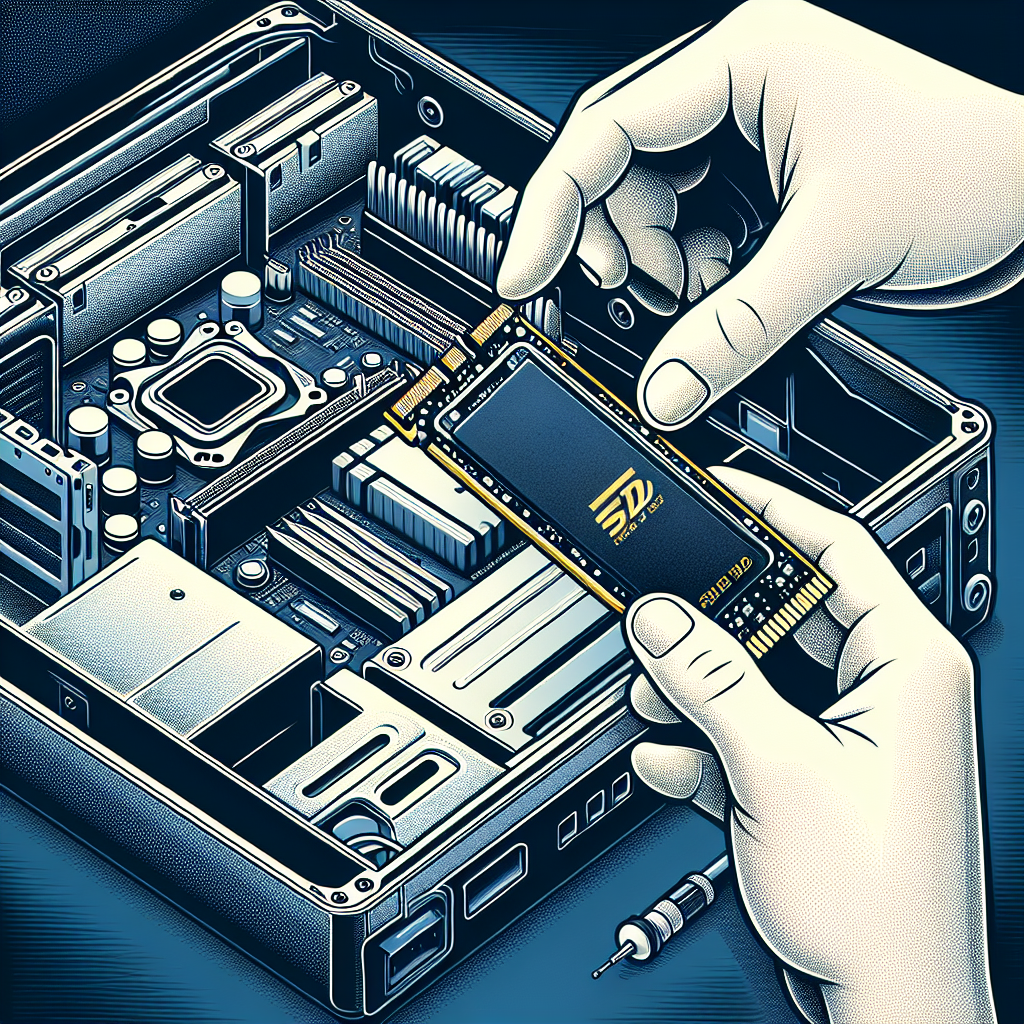
Step 5: Insert the M.2 SSD
Angle the M.2 SSD at approximately 30 degrees and insert it into the M.2 slot. Once it is fully inserted, lower the SSD flat onto the motherboard.
Step 6: Secure the M.2 SSD
Using a small screw, secure the M.2 SSD to the motherboard. Ensure it is firmly in place but do not overtighten the screw.
Step 7: Reassemble Your Desktop
Place the side panel back onto your desktop case and screw it in securely. Plug your desktop back into the wall socket.
Step 8: Boot Up and Check BIOS
Power on your desktop and enter the BIOS setup by pressing the designated key (usually DEL or F2). Check to ensure your new M.2 SSD is recognized.
Step 9: Initialize the SSD
Once the M.2 SSD is recognized, boot into your operating system. Open the Disk Management tool in Windows, right-click on the new SSD, and select ‘Initialize Disk’ to format it for use.
Troubleshooting Tips
- M.2 SSD Not Recognized in BIOS: Ensure it is properly seated in the slot and secured.
- System Won’t Boot: Double-check all power connections and ensure no loose components inside the case.
- Disk Management Tool Can’t See SSD: Ensure the SSD is initialized and formatted correctly.
Common Mistakes to Avoid
- Not Wearing an Anti-Static Wrist Strap: This can lead to static discharge, damaging sensitive components.
- Forgetting to Set BIOS to AHCI Mode: This mode is usually required for optimal SSD performance.
- Overtightening the Screw: Doing so can damage the M.2 SSD or the motherboard.
Conclusion
Installing an M.2 SSD on your desktop is a straightforward process that can greatly improve your system’s performance. By following these steps and taking the necessary precautions, you can ensure a successful installation without any hiccups.